Pressure Canning Salsa
Salsa goes so well on everything! Why not make it at home?
When it comes to pressure canning your own food, many people will argue that it isn't worth the time and effort and I can sympathize with their thoughts. Especially if you are a mom with littles, what should take a few hours, takes all day long! But... if you are able to eliminate the extra "junk" they add into processed foods by making it yourself, then it is totally worth it!
What do you need to get started Pressure Canning?
Here is the recipe I use...
Click on the Image to get a copy of your own for free from my store!

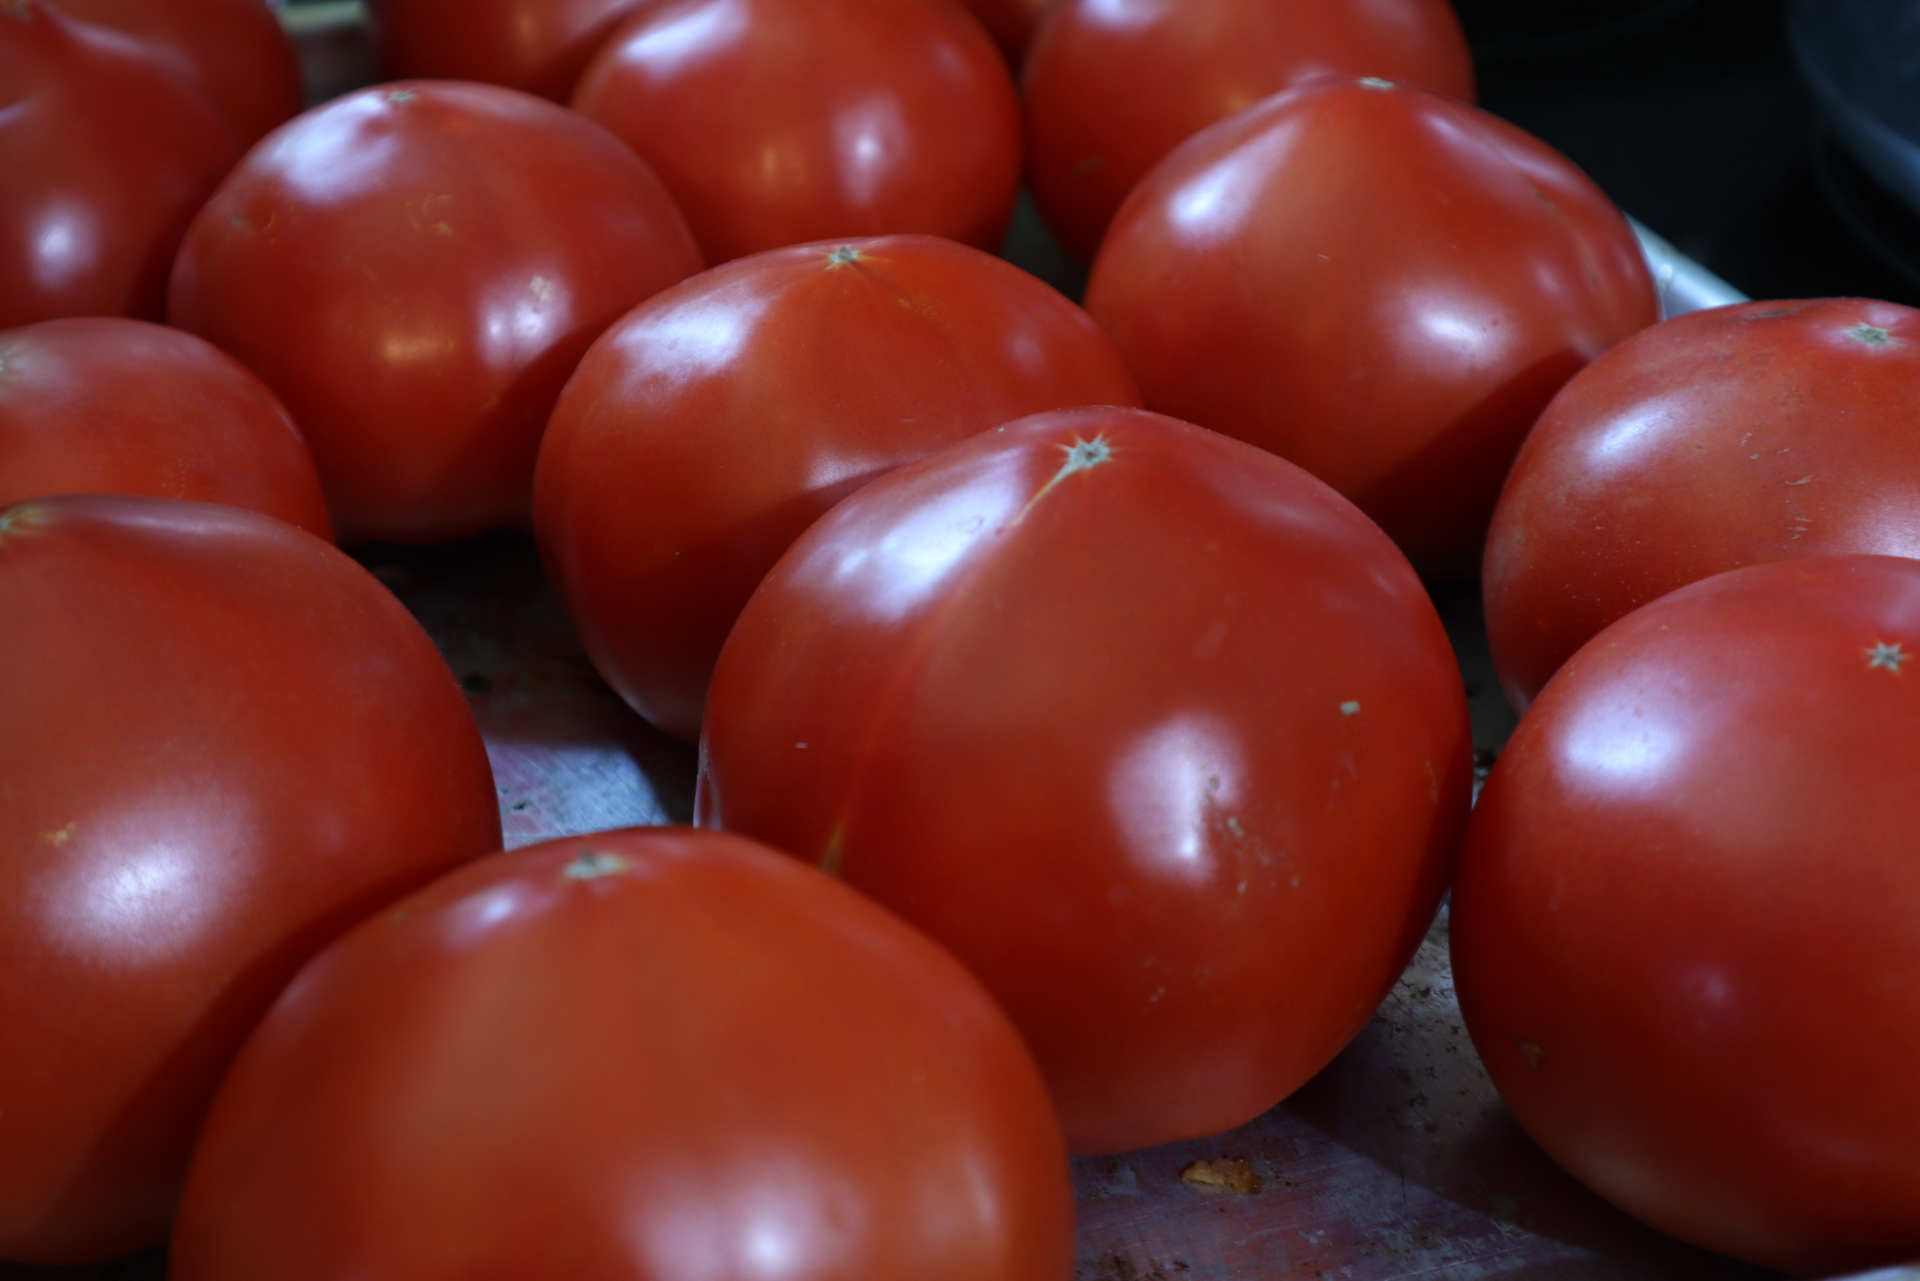
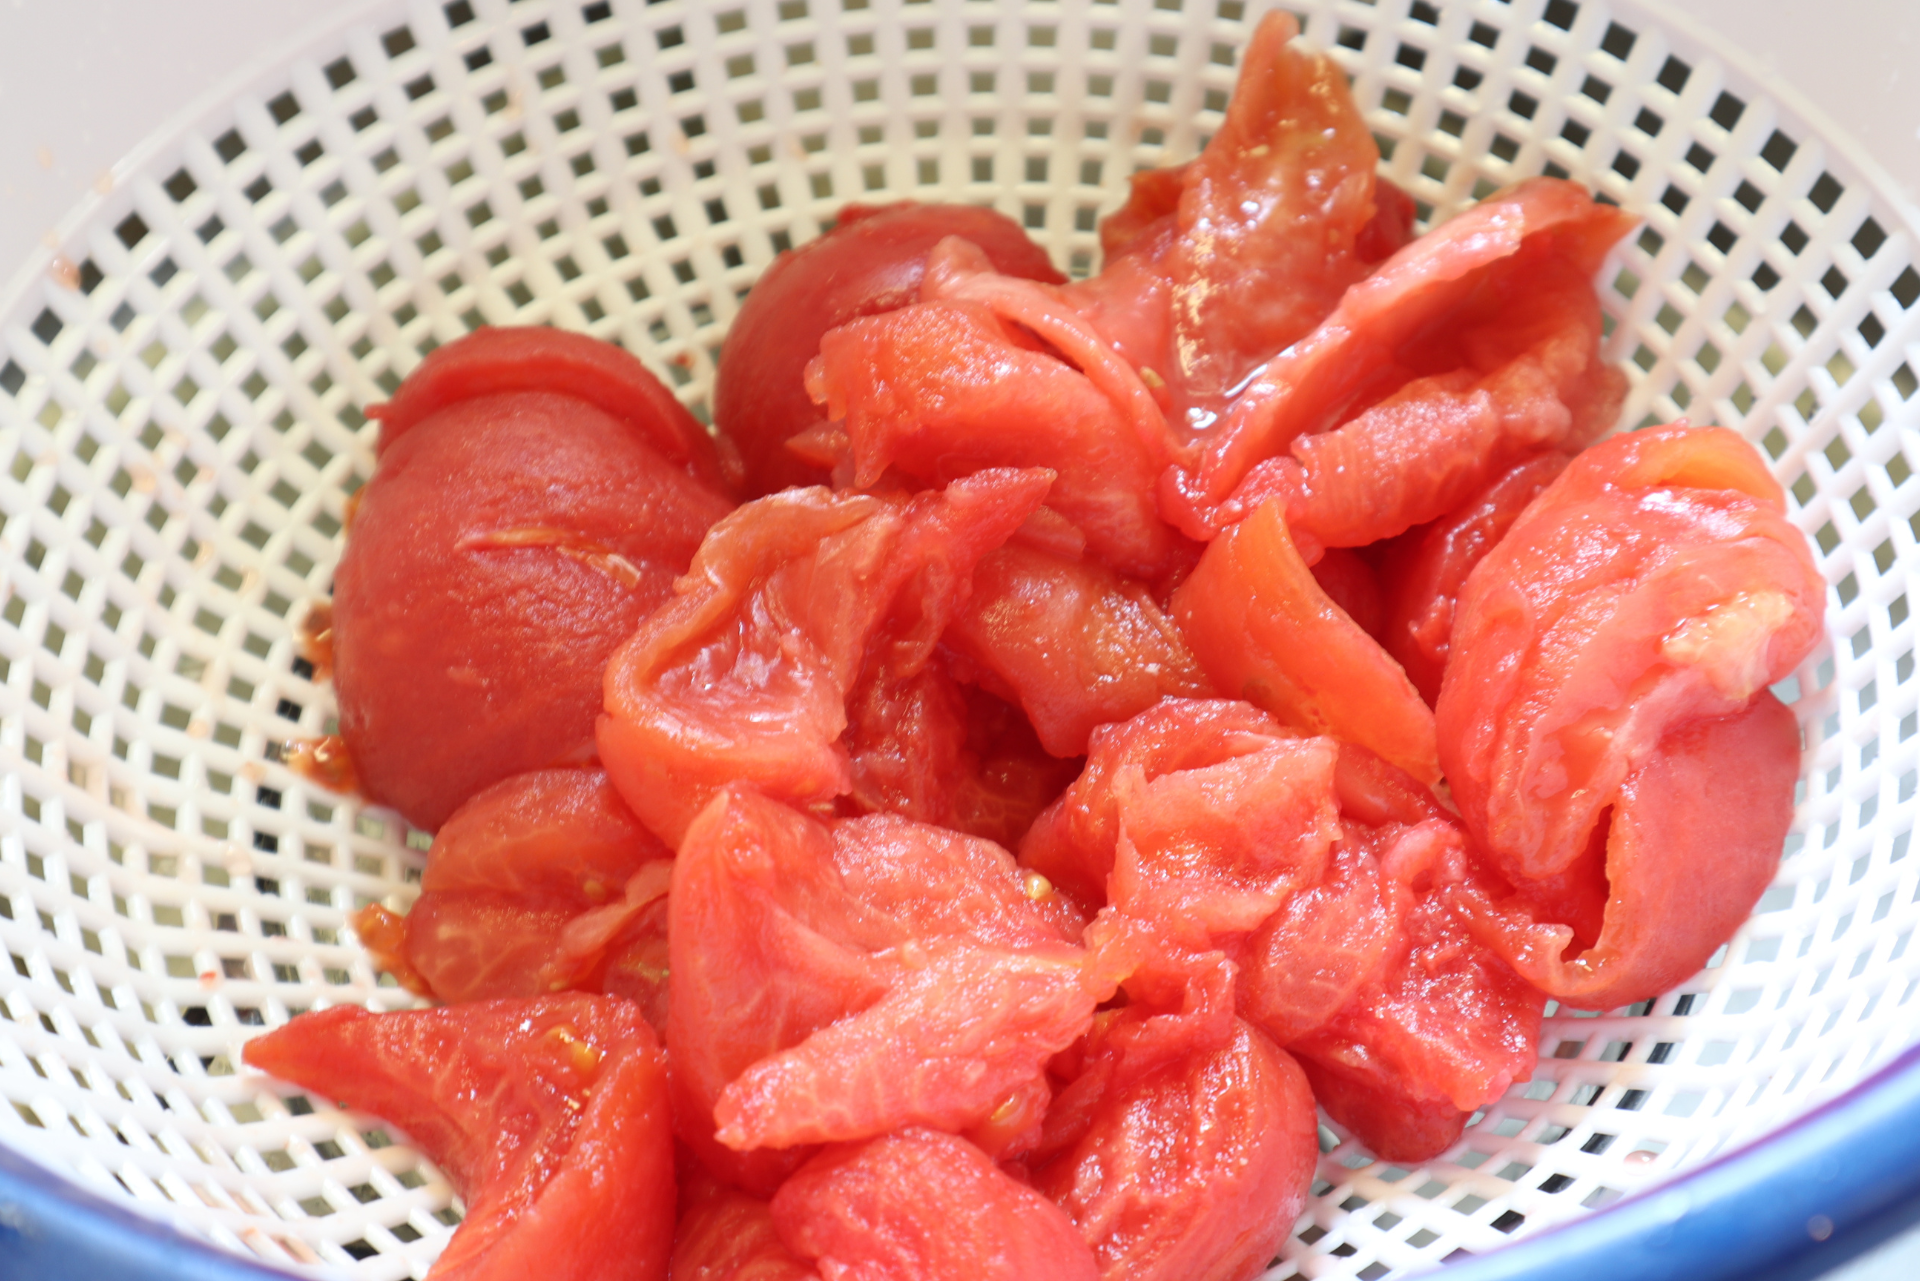
Step 1 - Deal with your tomatoes: De-Skin, De-Seed, De-Juice...
I found that ROASTING them to De-Skin them was the easiest method! Lay out your tomatoes on a cookie sheet and bake at 450 degrees for 25 minutes. Let cool and then peel the skins right off! While your at it, cut out their core and squish out the seeds and extra juice. Let sit in a drainer till you are ready to chop them all up.
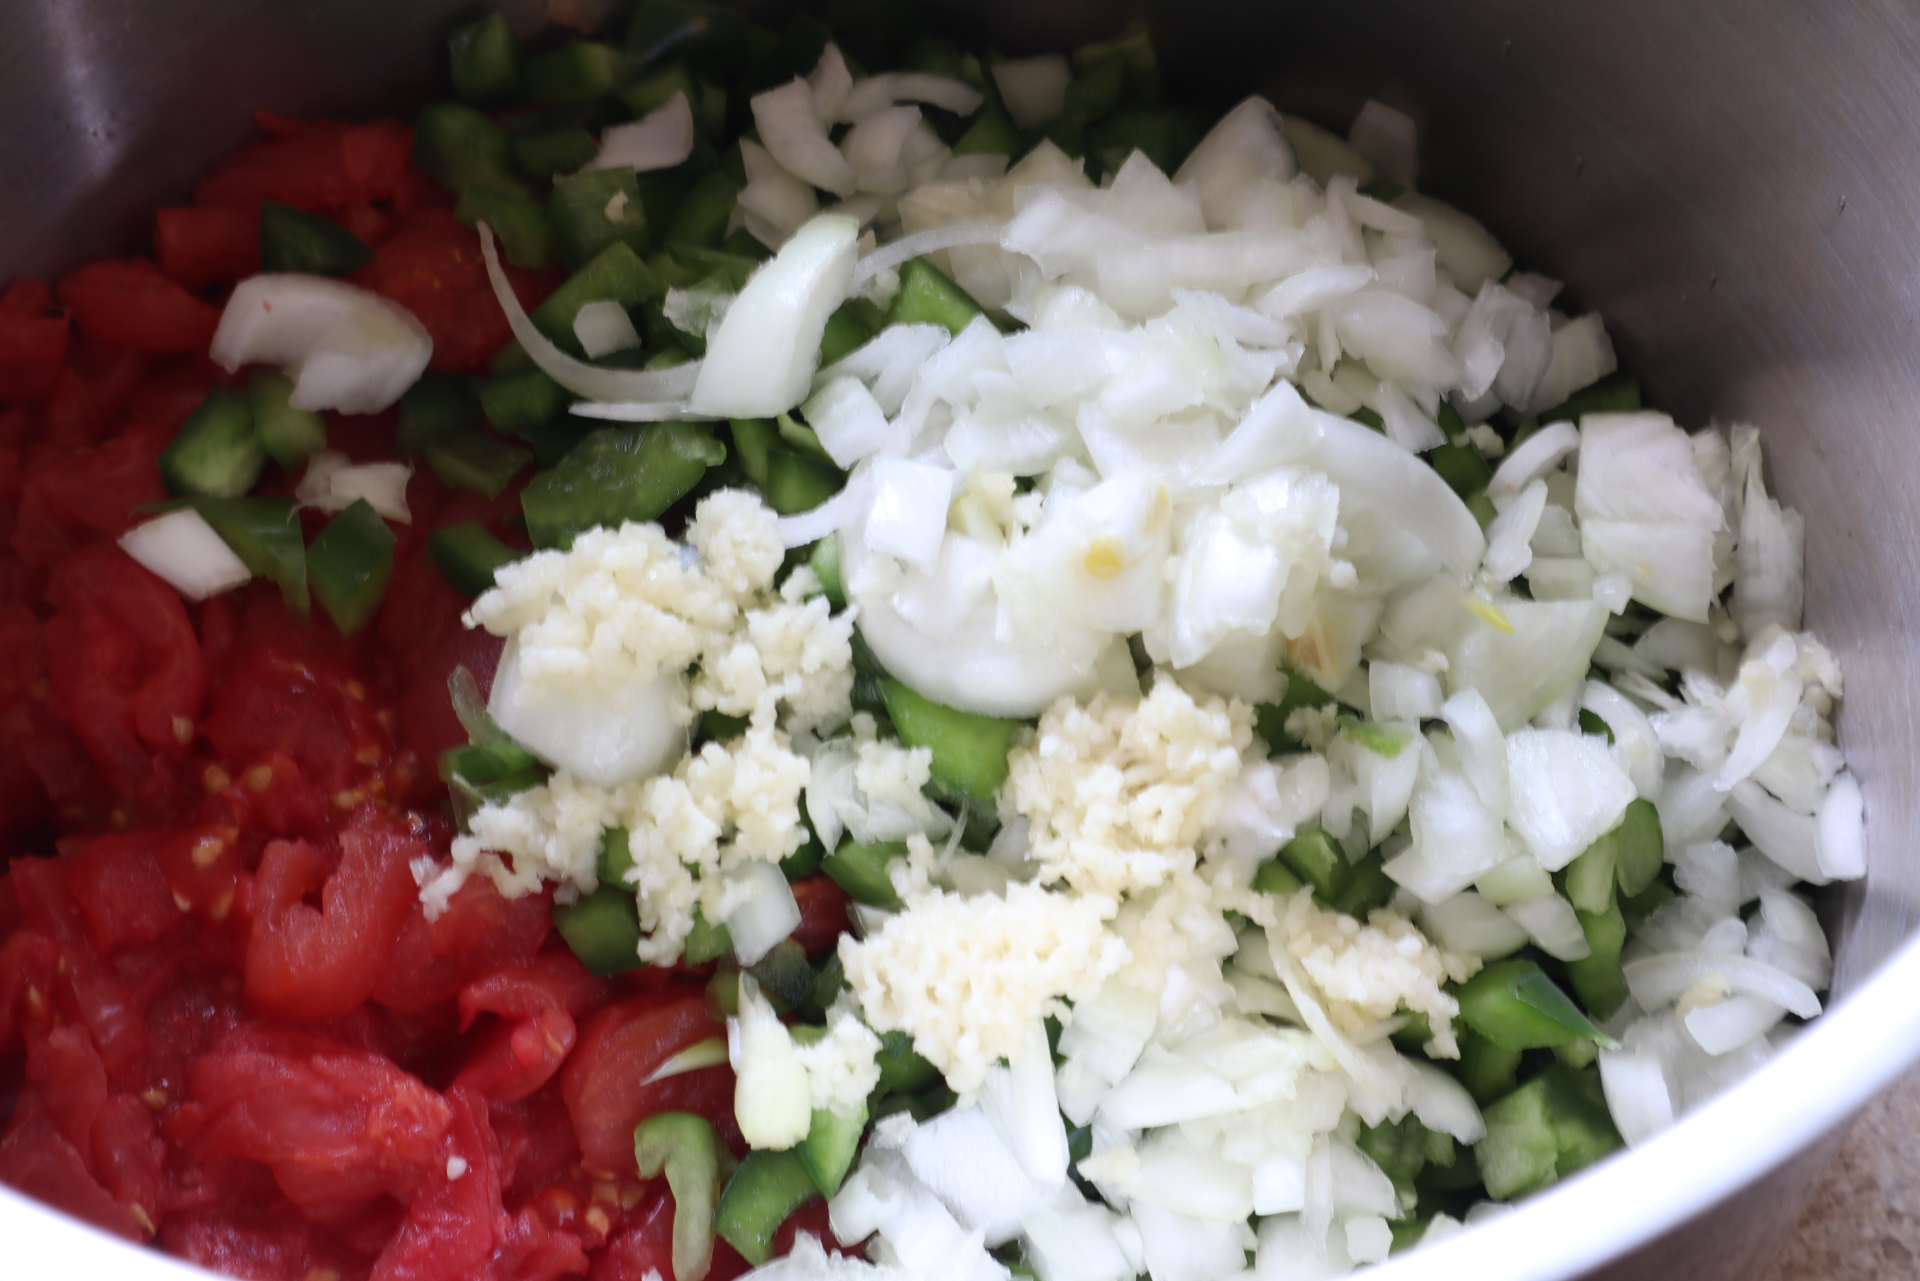
Step 2 - Mix all your ingredients and Simmer
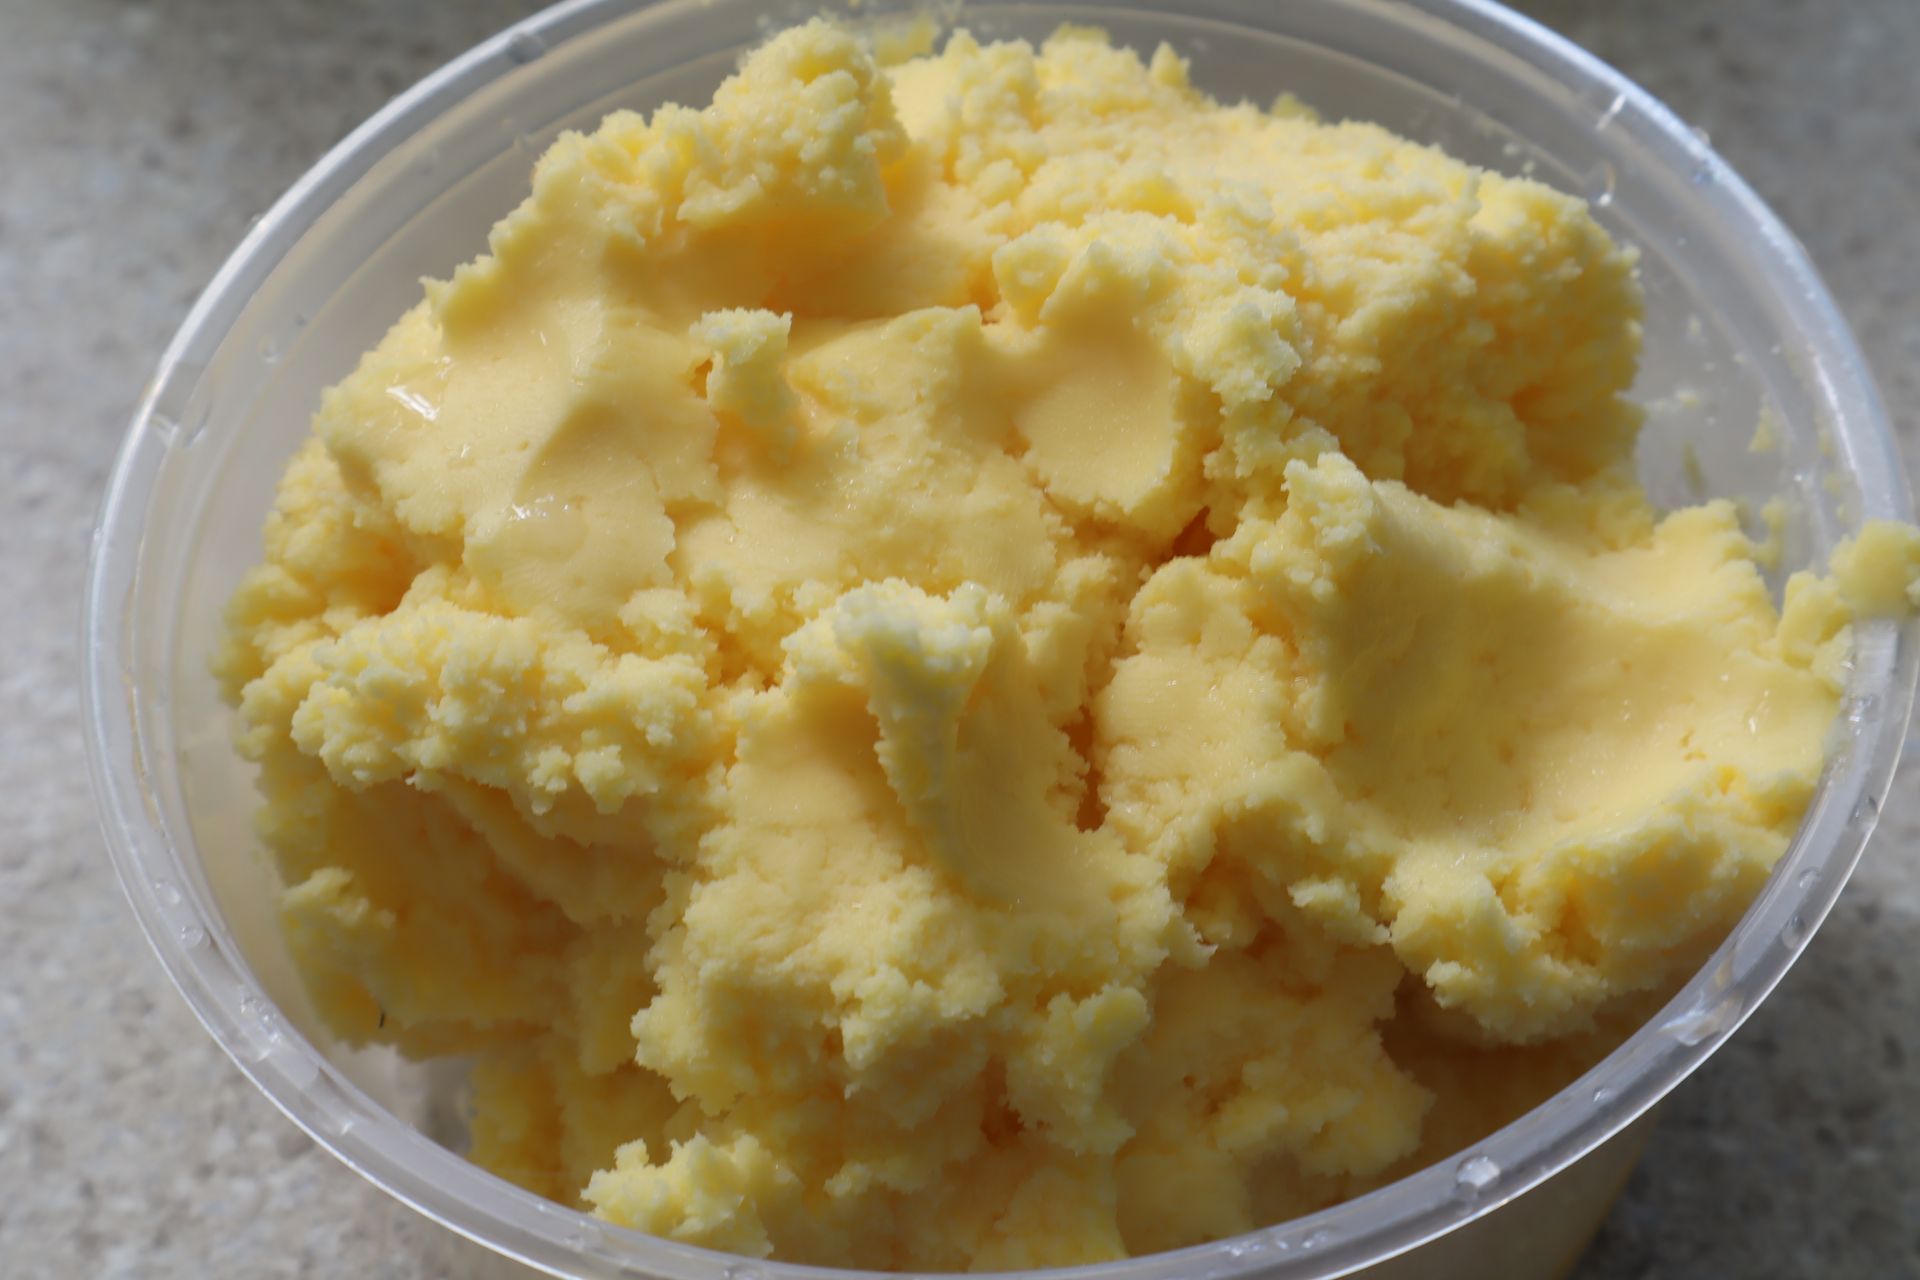
Dice your ingredients as you prefer. My kids like them diced small but my husband prefers it chunkier! I love using my Pampered Chef chopper for this part!
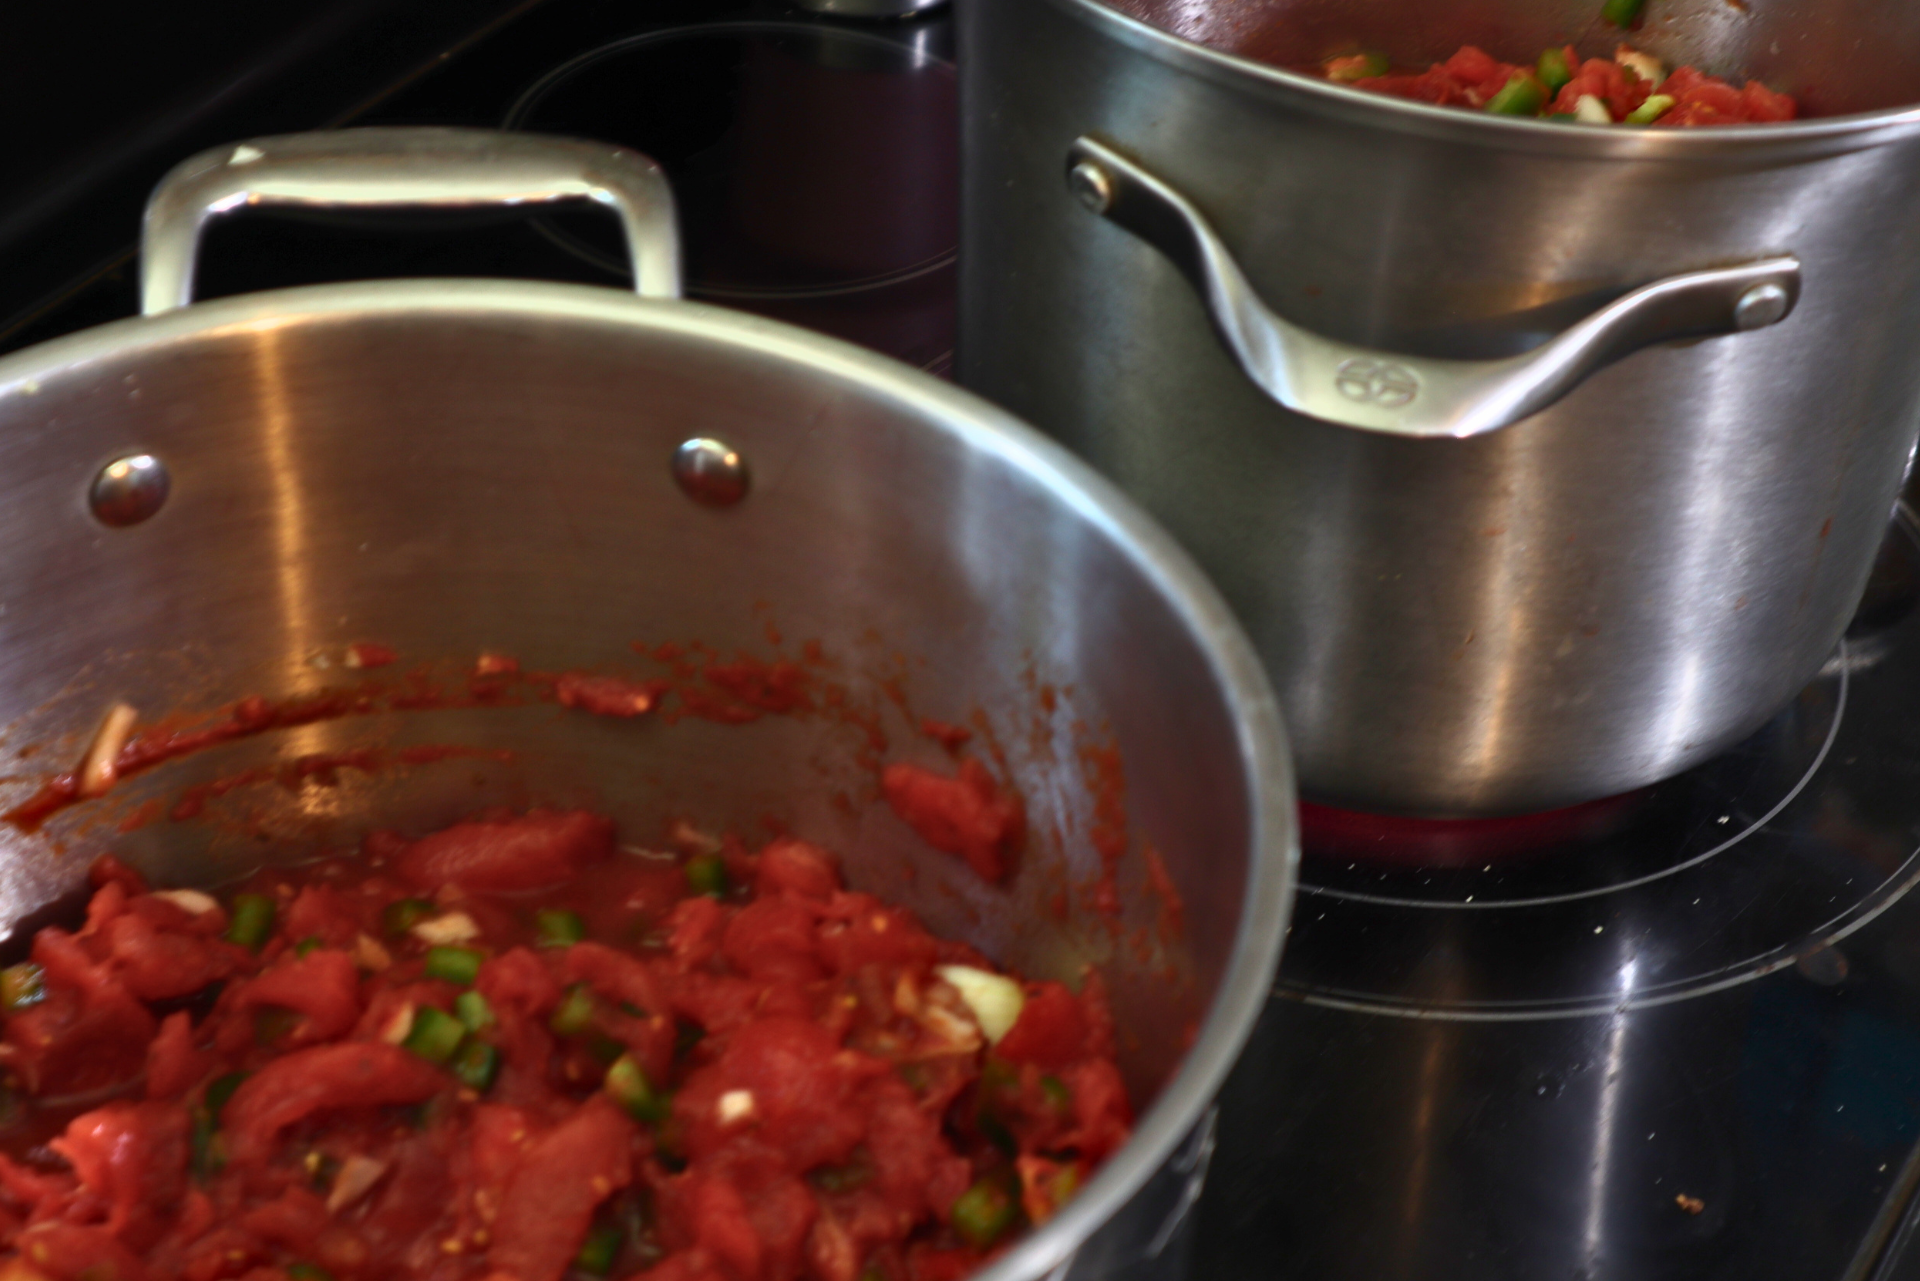
Simmer for about 30 minutes. While doing this go ahead and get your canner prepped. You can water bath this recipe as well, but I don't like putting that weight on our glass topped stove.
Step 3 - Pressure Can or Water Bath
I prefer to pressure can just because it is less water on the stove top however pressure canning can take longer because you have to vent, meet pressure and then wait for it to depressurized before switching batches. So, personal preference is best here.
- Wash and warm your jars, lids and rings.
- Fill warm jars with warm salsa leaving 1" head space.
- Wipe rims with vinegar and cover with lids and rims.
- Place in pressure canner, add your lid and wait till it vents.
- Let vent about 10 minutes (this part always makes me nervous for some reason!)
- Add your weight (10lbs is all you need).
- Once the weight starts to let pressure out, set your timer for 10 minutes.
- Once your time is up, remove from the heat but DO NOT remove pressure gauge or lid till it is totally depressurized!
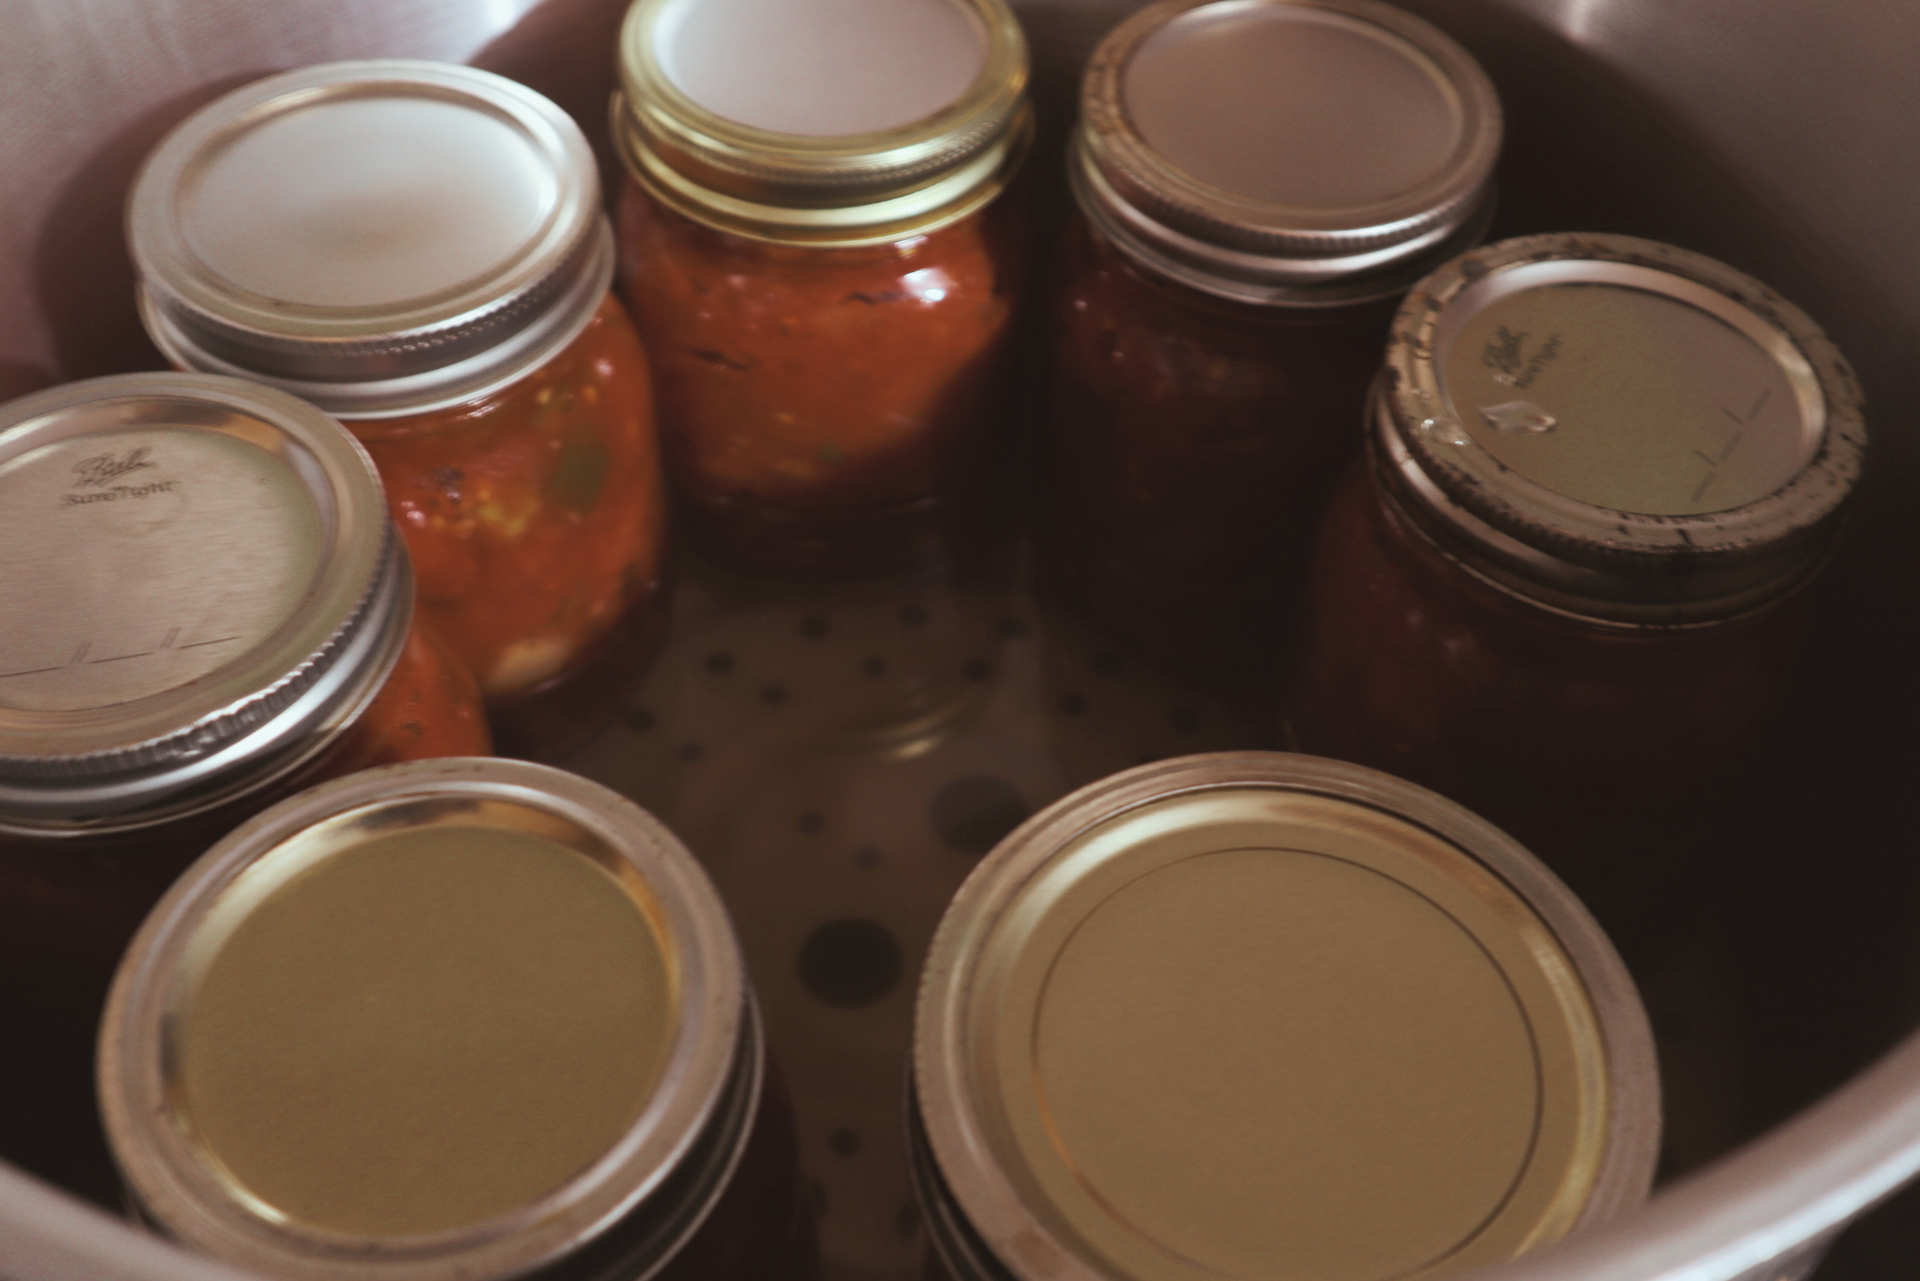
9. Once the canner is depressurized you can remove your jars to cool. Wait 12 to 24 hours before removing the rings, washing and storing.
10. Enjoy!
Tell Me What you think...


Follow
